Carefully choose your fruits, pears are known to be fragile and need to be handled with care. Leave them at room temperature to ripen before cooking.
Juicy pear and lemon zest marmelade
4 May 2021
: Serving for 4 jars
: 15 min
: 1 hr 15 min
: 20 hr
: Easy
You can use various types of pears depending on the season: William Pear is good in summer, Conference or Doyenne de Comice in the fall.
Ingredients
- 1 kg net of peeled and thinly sliced pears. Peels and cores are to be set aside.
- Juice and zest of one organic lemon
- Citrus fruit seeds you have previously stored in your freezer or your refrigerator
- 600 to 700 g of caster sugar up to your taste (knowing that 750 g of sugar per kilo of fruit is the ideal weight for the optimized preservation of your marmalades)
Directions
- Step 1 With your kitchen knife, finely peel the lemon zest leaving the white part of the citrus on the fruit and cut the zests in thin slices. Squeeze the lemon juice in a large bowl before adding the pear slices. Some pear peels and all the cores are still set aside … When you’ve reached precisely 1 kg of peeled fruits, add the sugar, stir well and let it marinate at least a full night in a cool place or in the fridge.
- Step 2 Blanch the lemon zests in a small pan with a little bit of boiling water for 2 minutes. Repeat this operation twice, changing the water both times. Strain the water and set the zests in the refrigerator.
- Step 3 The following day, start cooking all the ingredients together: the fruit preparation along with the zests, the peels and the citrus seeds locked in a tea-ball. After a while, test if the marmalade is firm enough by dropping a small quantity of jam on a small plate you will place in the fridge. The test is successful if the drop is firm after 2 minutes in the refrigerator. Count about 40 minutes after the boiling point for the jam to be ready, but again, it depends on the fruit itself and sometimes you will have to be a bit more patient.
- Step 4 Start filling up the jars with the stove still on. It is only when you are almost done filling the jars that you turn the heat off, so the jam does not get too thick and sticky. Then, put all the lids on and turn the jars upside down until totally cooled. If you have up to 10 jars to fill, don’t wait till they are all filled to put the lids on. Do it by groups of 5.
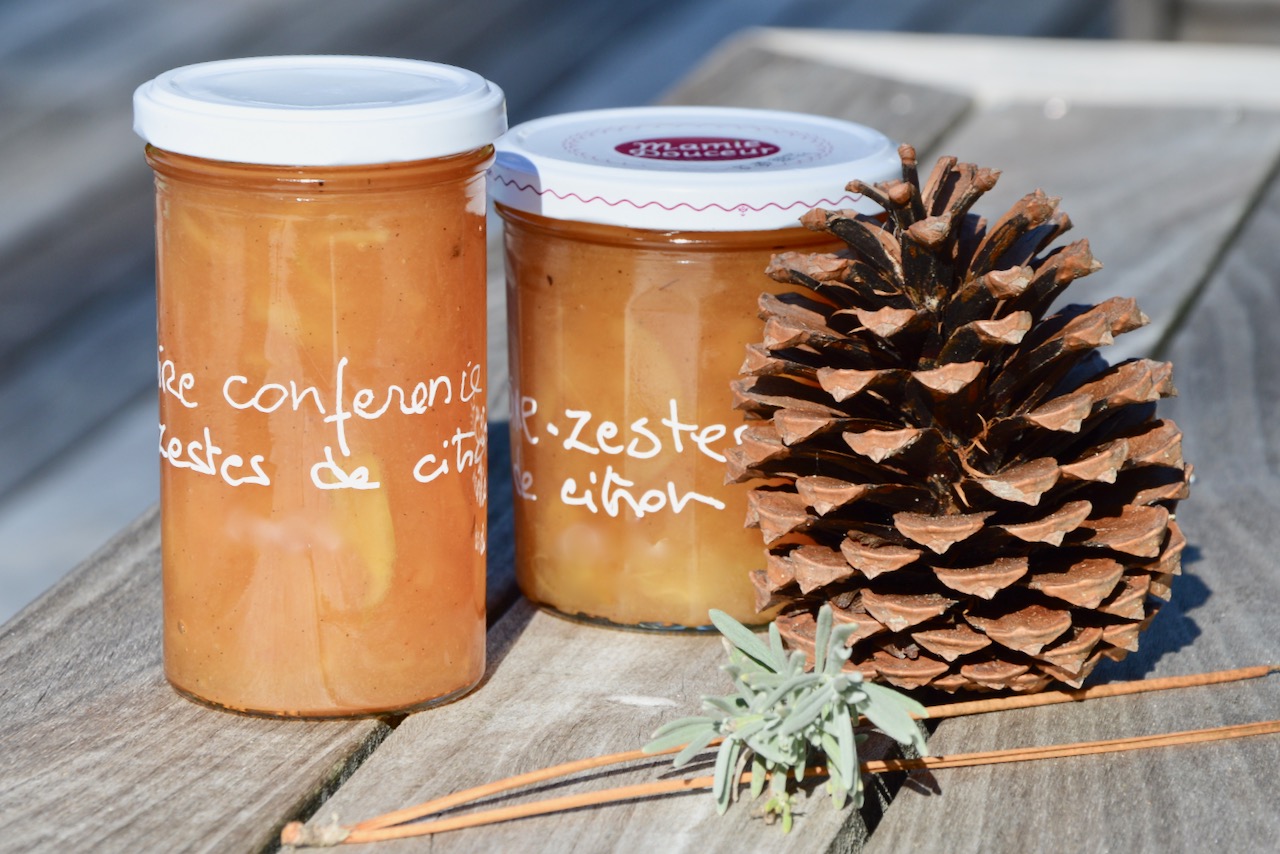
- Step 5 Put the labels on or write on the glass jars with a special felt pen before storing in a dry and dark place. If you choose to use little sugar like I do, do sterilize the jars just after filling them up, or remember to eat them within 18 months. Once open, the jars can be kept in the refrigerator for several weeks.