I have been making my own homemade jams for the past 10 years, and apart from just a few flops, it has been nothing but great fun. Depending on your cravings, likings, or on the season, really do try out, it’s worth it! It is undoubtedly rewarding, but as we are into the food environment, there are very strict and essential sanitary rules to abide by. Then, all you will have left to do is follow the link to your choice of jam recipe and start cooking…
Utensils
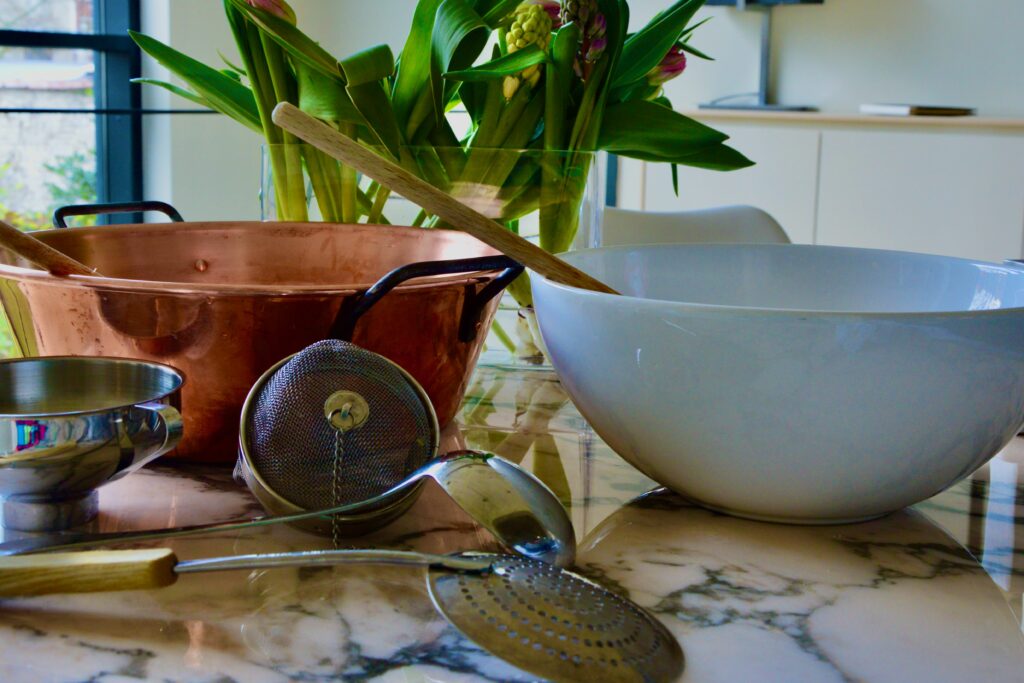
- A skimmer
- A ladle
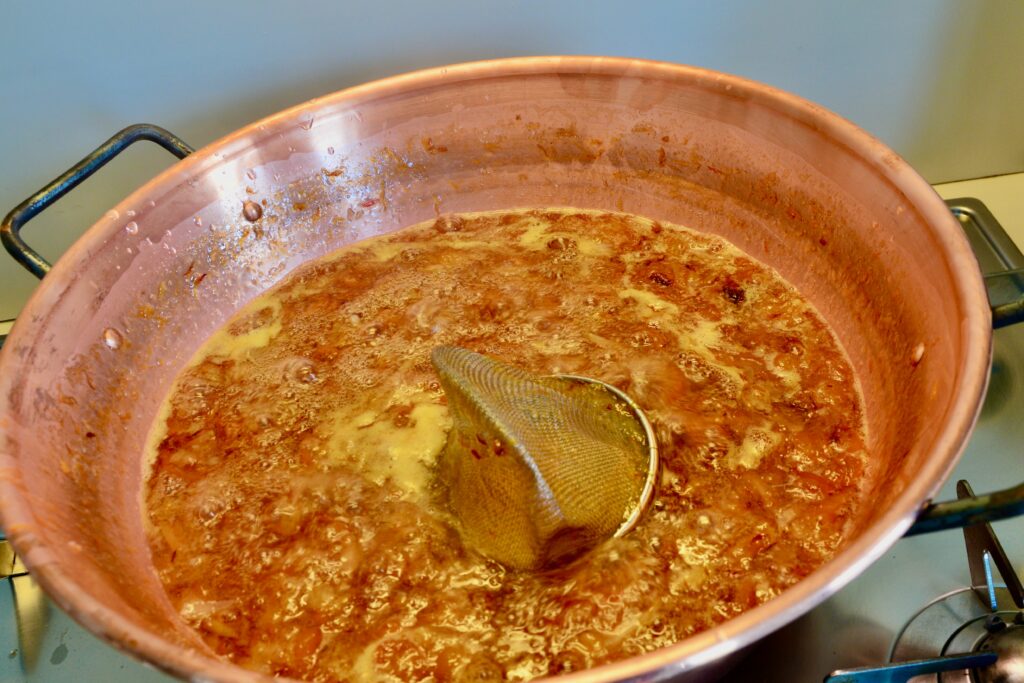
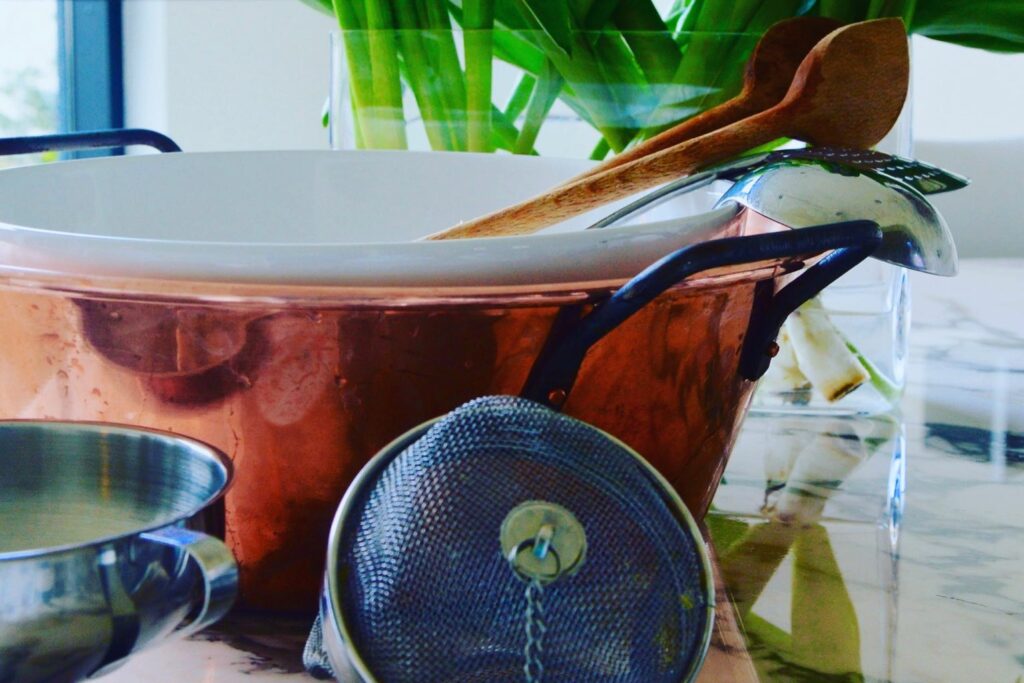
- A large tea ball
- A marmalade pan made of copper and exclusively dedicated to jam cooking
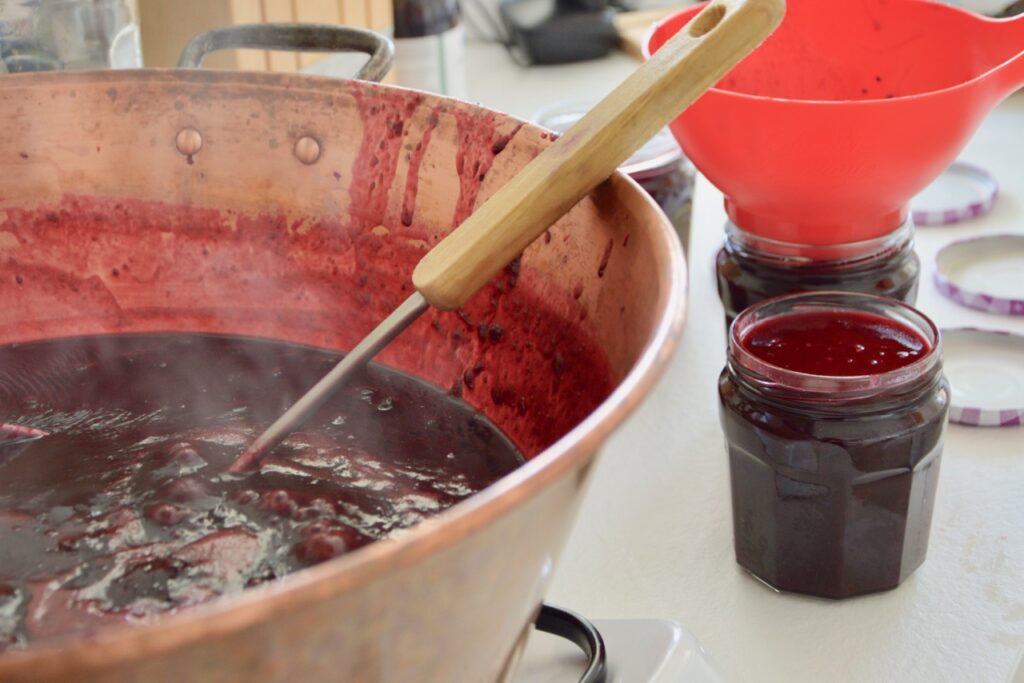
- A funnel
- A wooden spatula
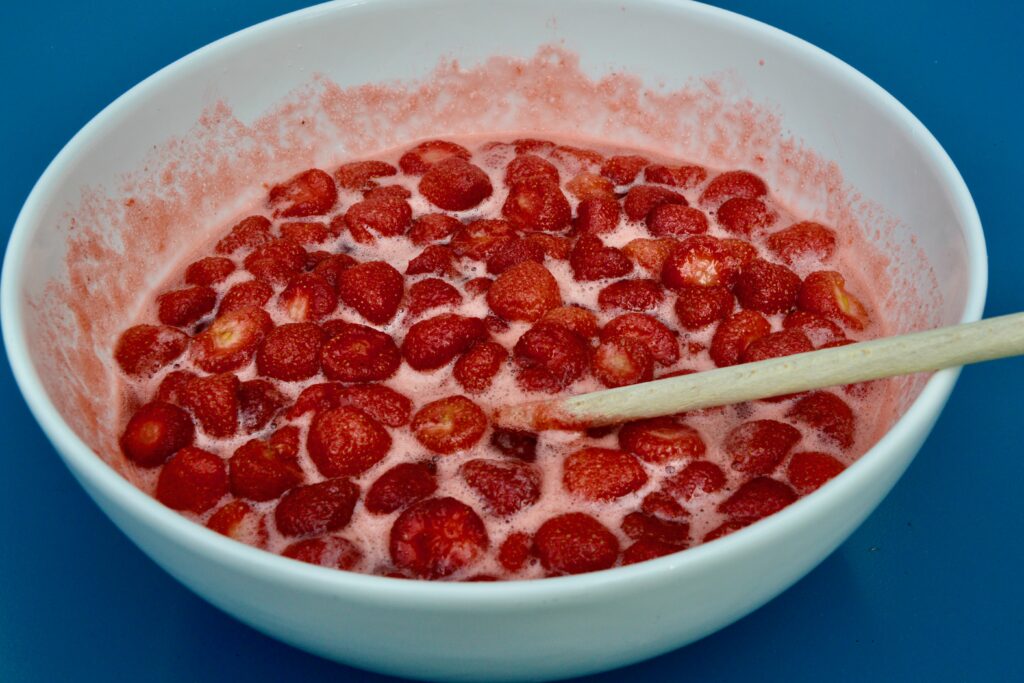
- Large bowls made of glass or china for the fruits to soak when indicated in the recipe
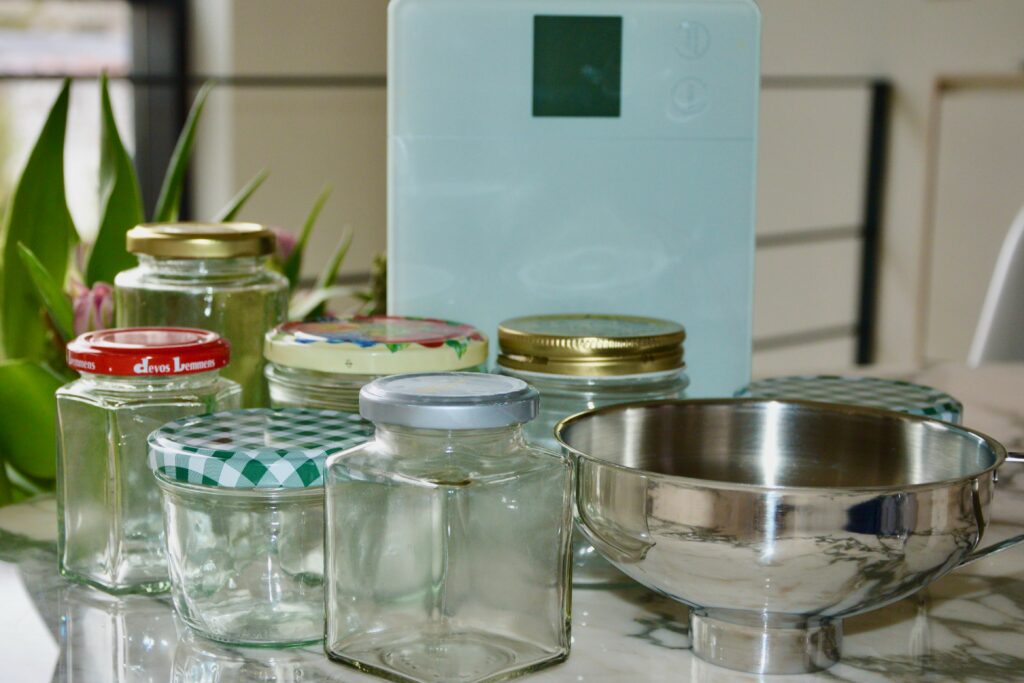
- Thick glass jars with their lid (in good condition)
- A few tiny plates that can be stored in the fridge to test the jam’s texture
- A heat-protective kitchen glove
- A large clamp made of silicon or wood to hold the jars in the hot water
- A lemon squeezer
- A zest grater
- A fruit-pit remover
- A kitchen scale
- A measuring cup
Ingredients
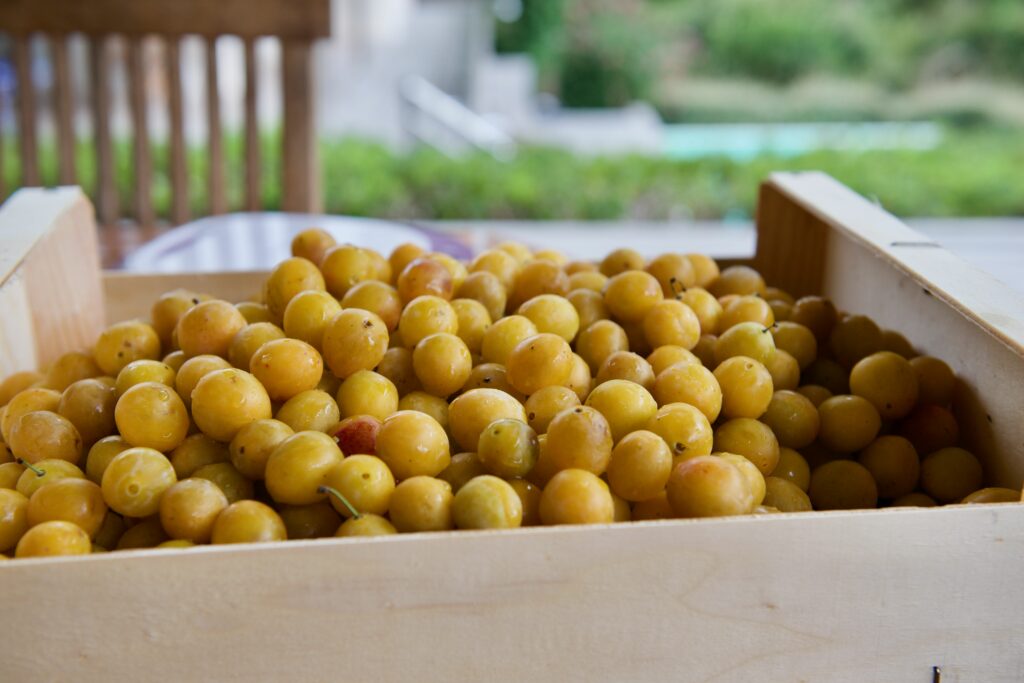
The fruits
It is important to choose high quality fruits, ripe and in season, that is when they are best. Ask your vegetable grocer, he will give you good advice on the best choice of the moment, price- and quality-wise. If you like outdoor markets, you will often have great advice from the professional growers too.
The sugar
Crystal sugar (made from the sugar beet) is neutral, pure, and reasonable in price. Brown sugar not only modifies the taste but also the color of the jam. You need to count at least 750 g of sugar per kilo of prepared fruits. I know, it sounds so much, but this is the minimum. Keep in mind that making jam is barely cooking fruits and sugar together for an optimized preservation… when I use less sugar, I consider that I have made a “jam/fruit sauce” and that these preserves will have to be eaten more quickly.
Pectin ande lemon juice
Pectin is the sticky and jelly-like texture coming from the seeds of some fruits. The thickness of the texture varies on the type of fruit or even on its ripeness.
When you heat the sugar with the fruits, depending on their level of acidity, the pectin will turn into a more or less thick texture, giving a jelly consistency to the preparation.
Some fruits (such as all the citrus fruits, gooseberries, blackcurrants, passion fruits, green tomatoes, apples, kumquats and quince) are naturally rich in pectin. Others (like cherries, strawberries, mangoes, peaches, nectarines, litchis, figs, or pears) have a much lower content in pectin. To make up for the lack in this essential element, I regularly freeze apple cores and citrus seeds so that I can use them whenever I need extra pectin. Using a large tea ball is ideal in this case: insert the fruit peels and the seeds, lock the ball and place it in your jam pan along with your ingredients while it’s cooking.
The lemon juice plays a very important role too.
Integrated from the start of the cooking part or directly with the sugar when the fruits need to marinate, the lemon juice speeds up the pectin’s expected effect and enhances greatly the fruit flavors as well. Personally, I love the sourness the lemon brings to my jams, so I use it systematically.
Lemon juice also helps maintain the genuine color of the fruit, it prevents oxidation and a possible development of bacteria too.
I usually add the juice of one lemon per kilo of prepared fruits for the nectarines, cherries, figs, plums, apricots, quince, blueberries, peaches, and pears.
When is it a good time to make jams ?
Choose the right time to get started. Consider that it takes time … If you want to make over 10 jars, make sure you have enough space, and that your kitchen is meticulously organized and clean, and that you do have the all appropriate utensils. With that in mind, choose a good time in your calendar, you need to have the adequate time slot … and why not ask a friend or two to join, it’s always more fun with friends.
How to choose, sterilize, fill up and store the jars ?
I mostly use new jars or those which are used but have some style: they have various shapes which is pleasant, and I like them medium size. The lids should be in perfect condition and what I mean by perfect is that they should show no sign of rust, cracks, or bumps. I recommend using new lids if you have a doubt. Once the jars and lids are clean, you will need to boil them in simmering water for 5 minutes in a large pot. Then, I place them on a clean tea towel upside down to dry. Using a clamp is a good idea as the jars and lids will be burning hot. Once dry, close the lids and use the jars rather quickly.
When filling up the jars, make sure you don’t spill jam on the sides. Using a funnel is at that stage mandatory to save time. I case you do spill some jam on the side of your jar, just simply use a new one otherwise your jam will rapidly develop mildew. Don’t forget to use your gloves to prevent burns: marmalade tends to splash as it cooks, and the jars are burning hot for a long time after they have been filled.
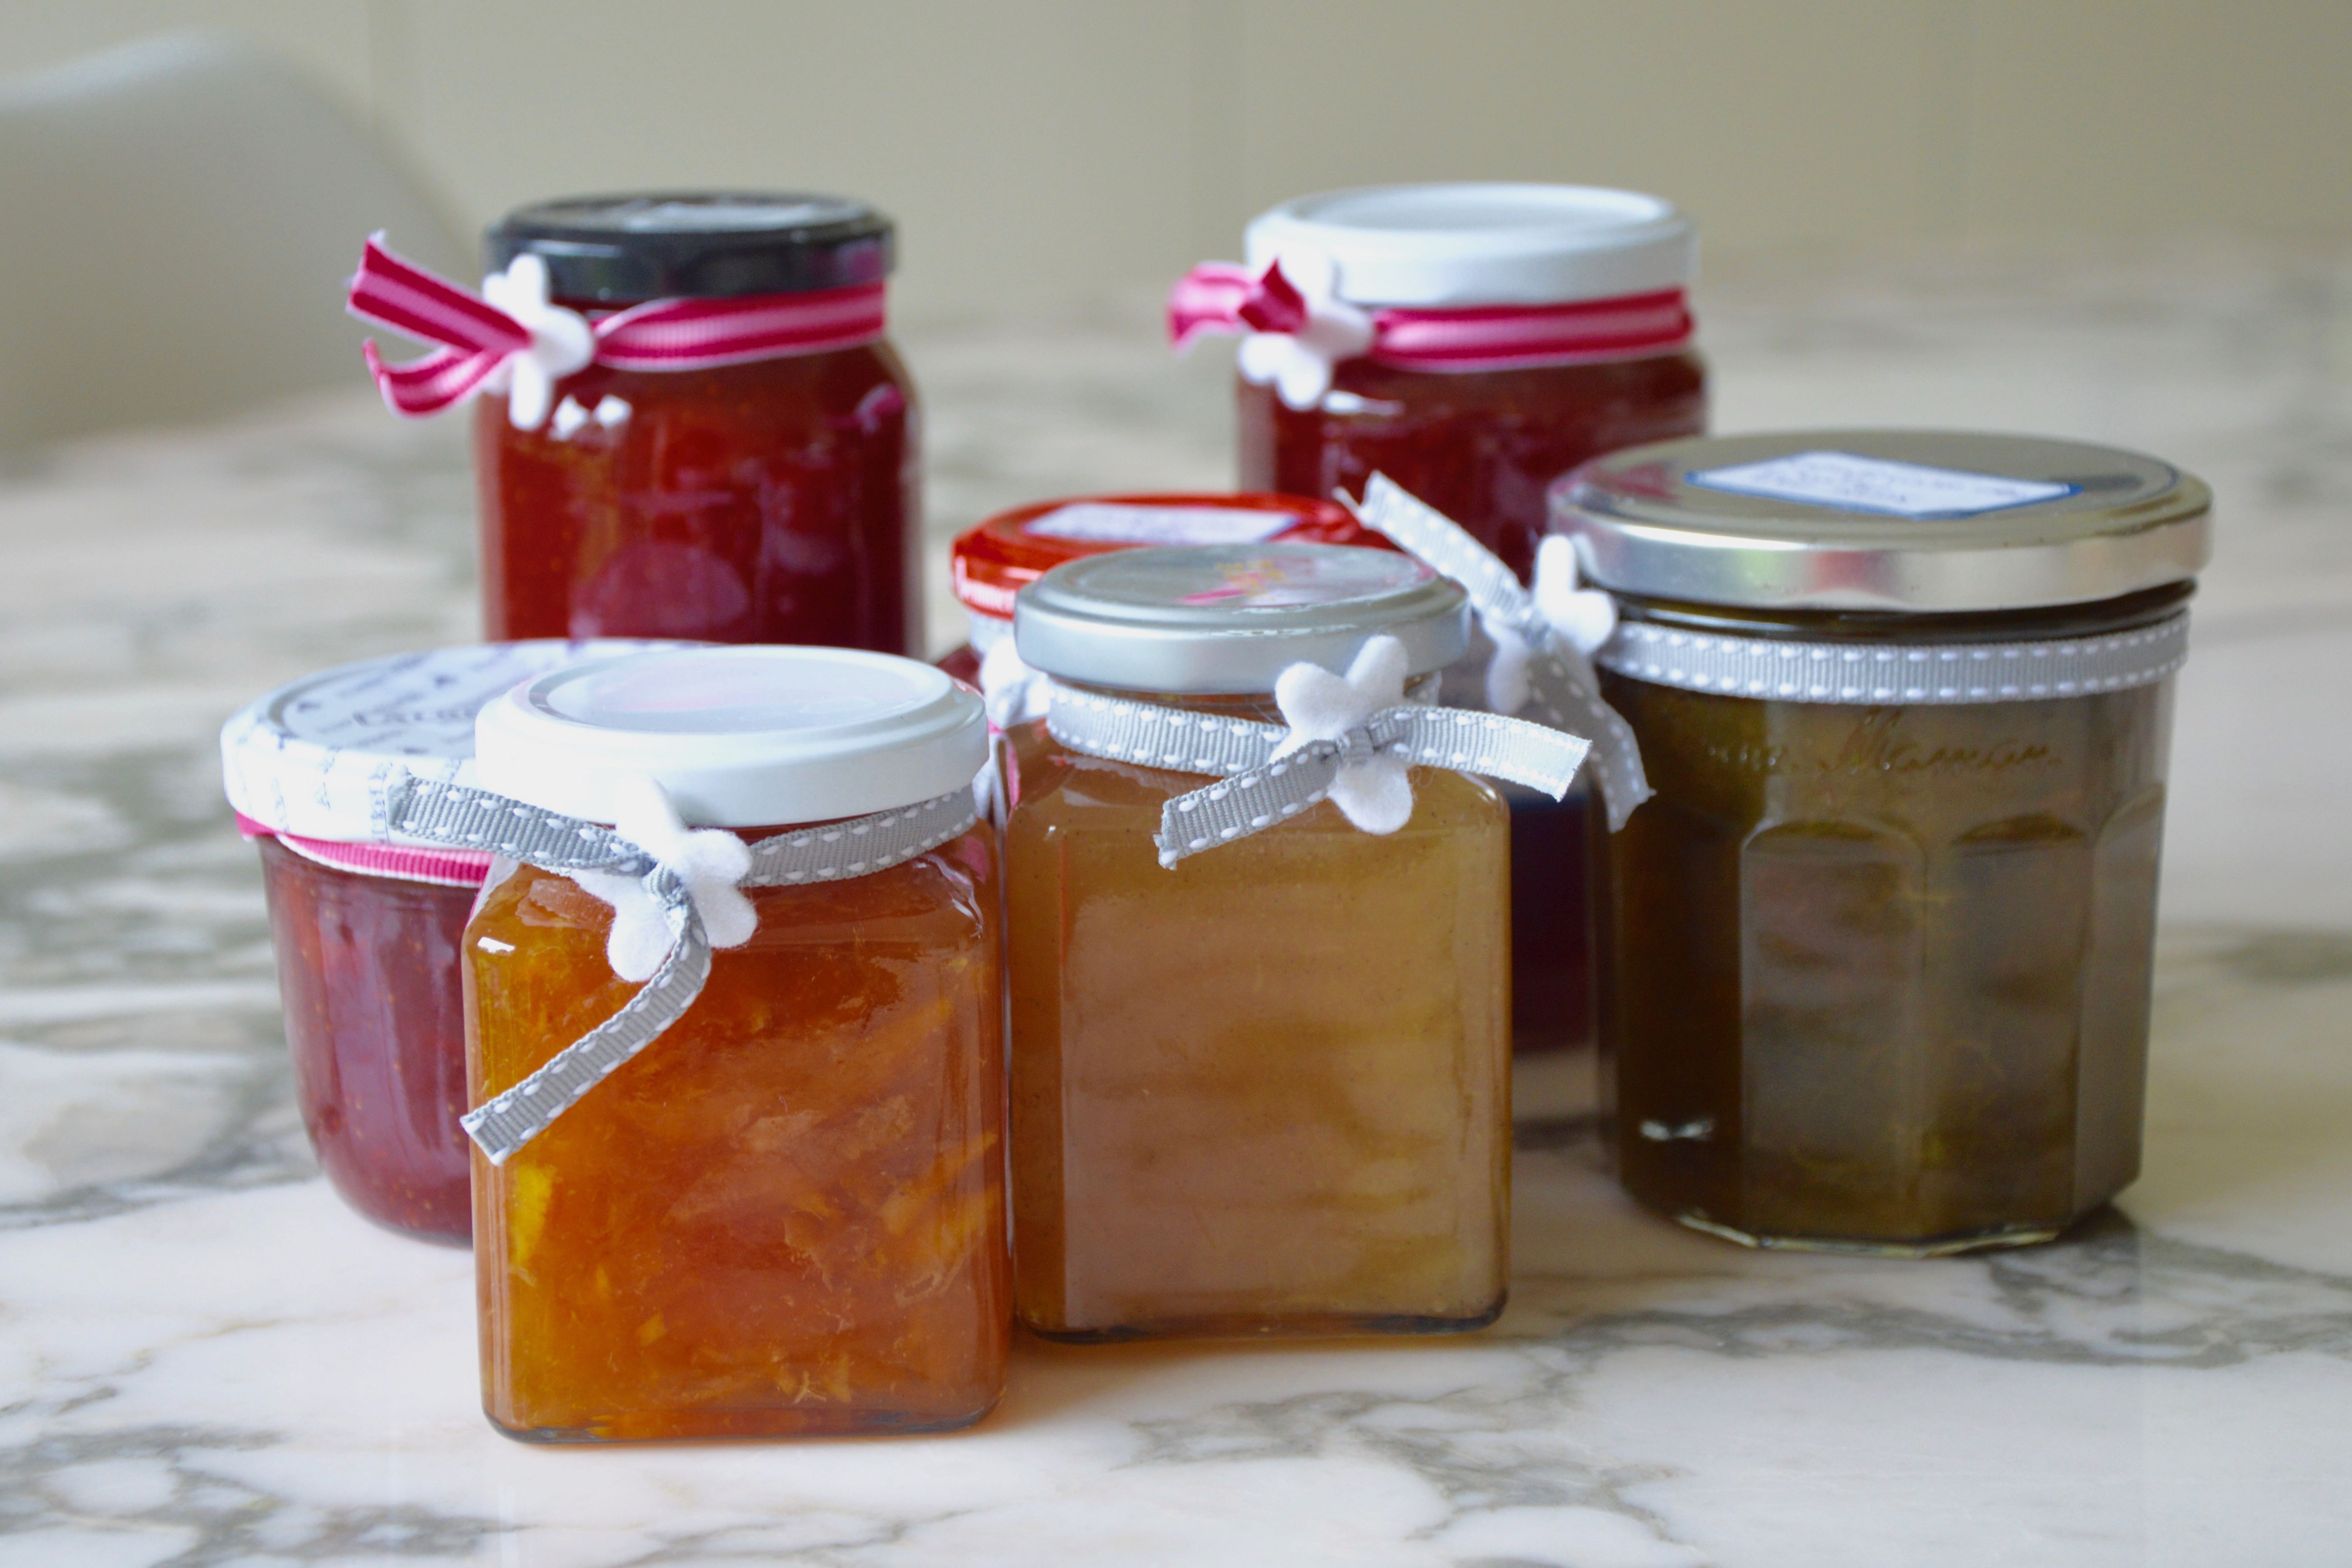
Turn your jars upside down once they are filled until complete cooling. This is to make them airtight.
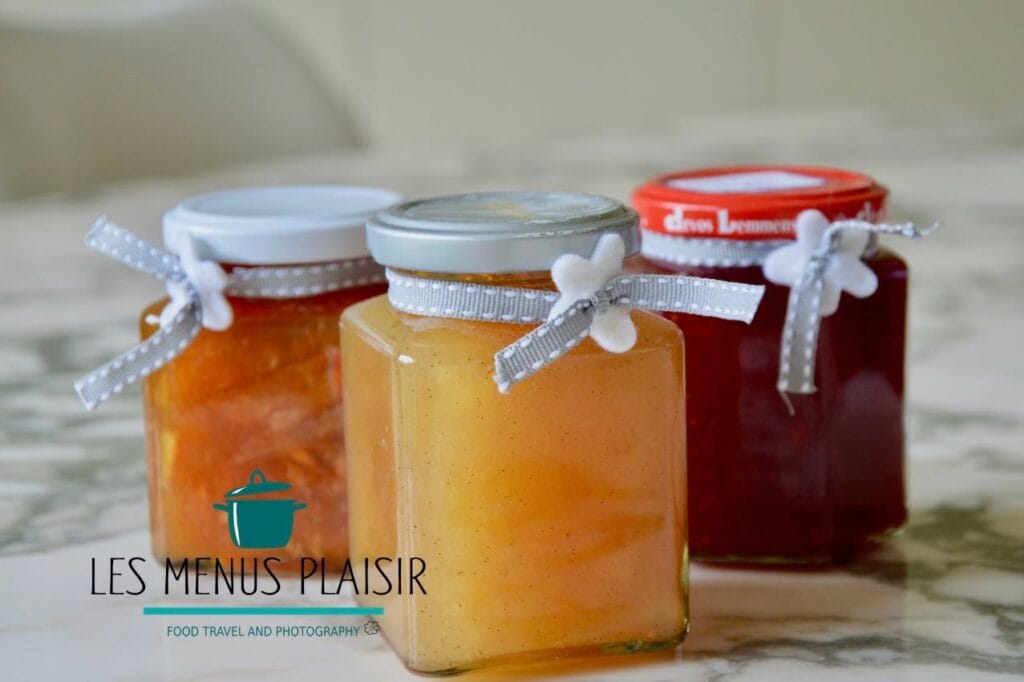
Your marmalades should be stored in a dry and dark room. I like to use nice labels or special felt pens for glass to indicate the year and the fruit used. If your jars are prepared and stored properly, they can keep for years.