You have to be selective with your choice of strawberries: they should be sweet, ripe and fragrant. Adjust the cooking time according to the amount of water coming out of the strawberries.
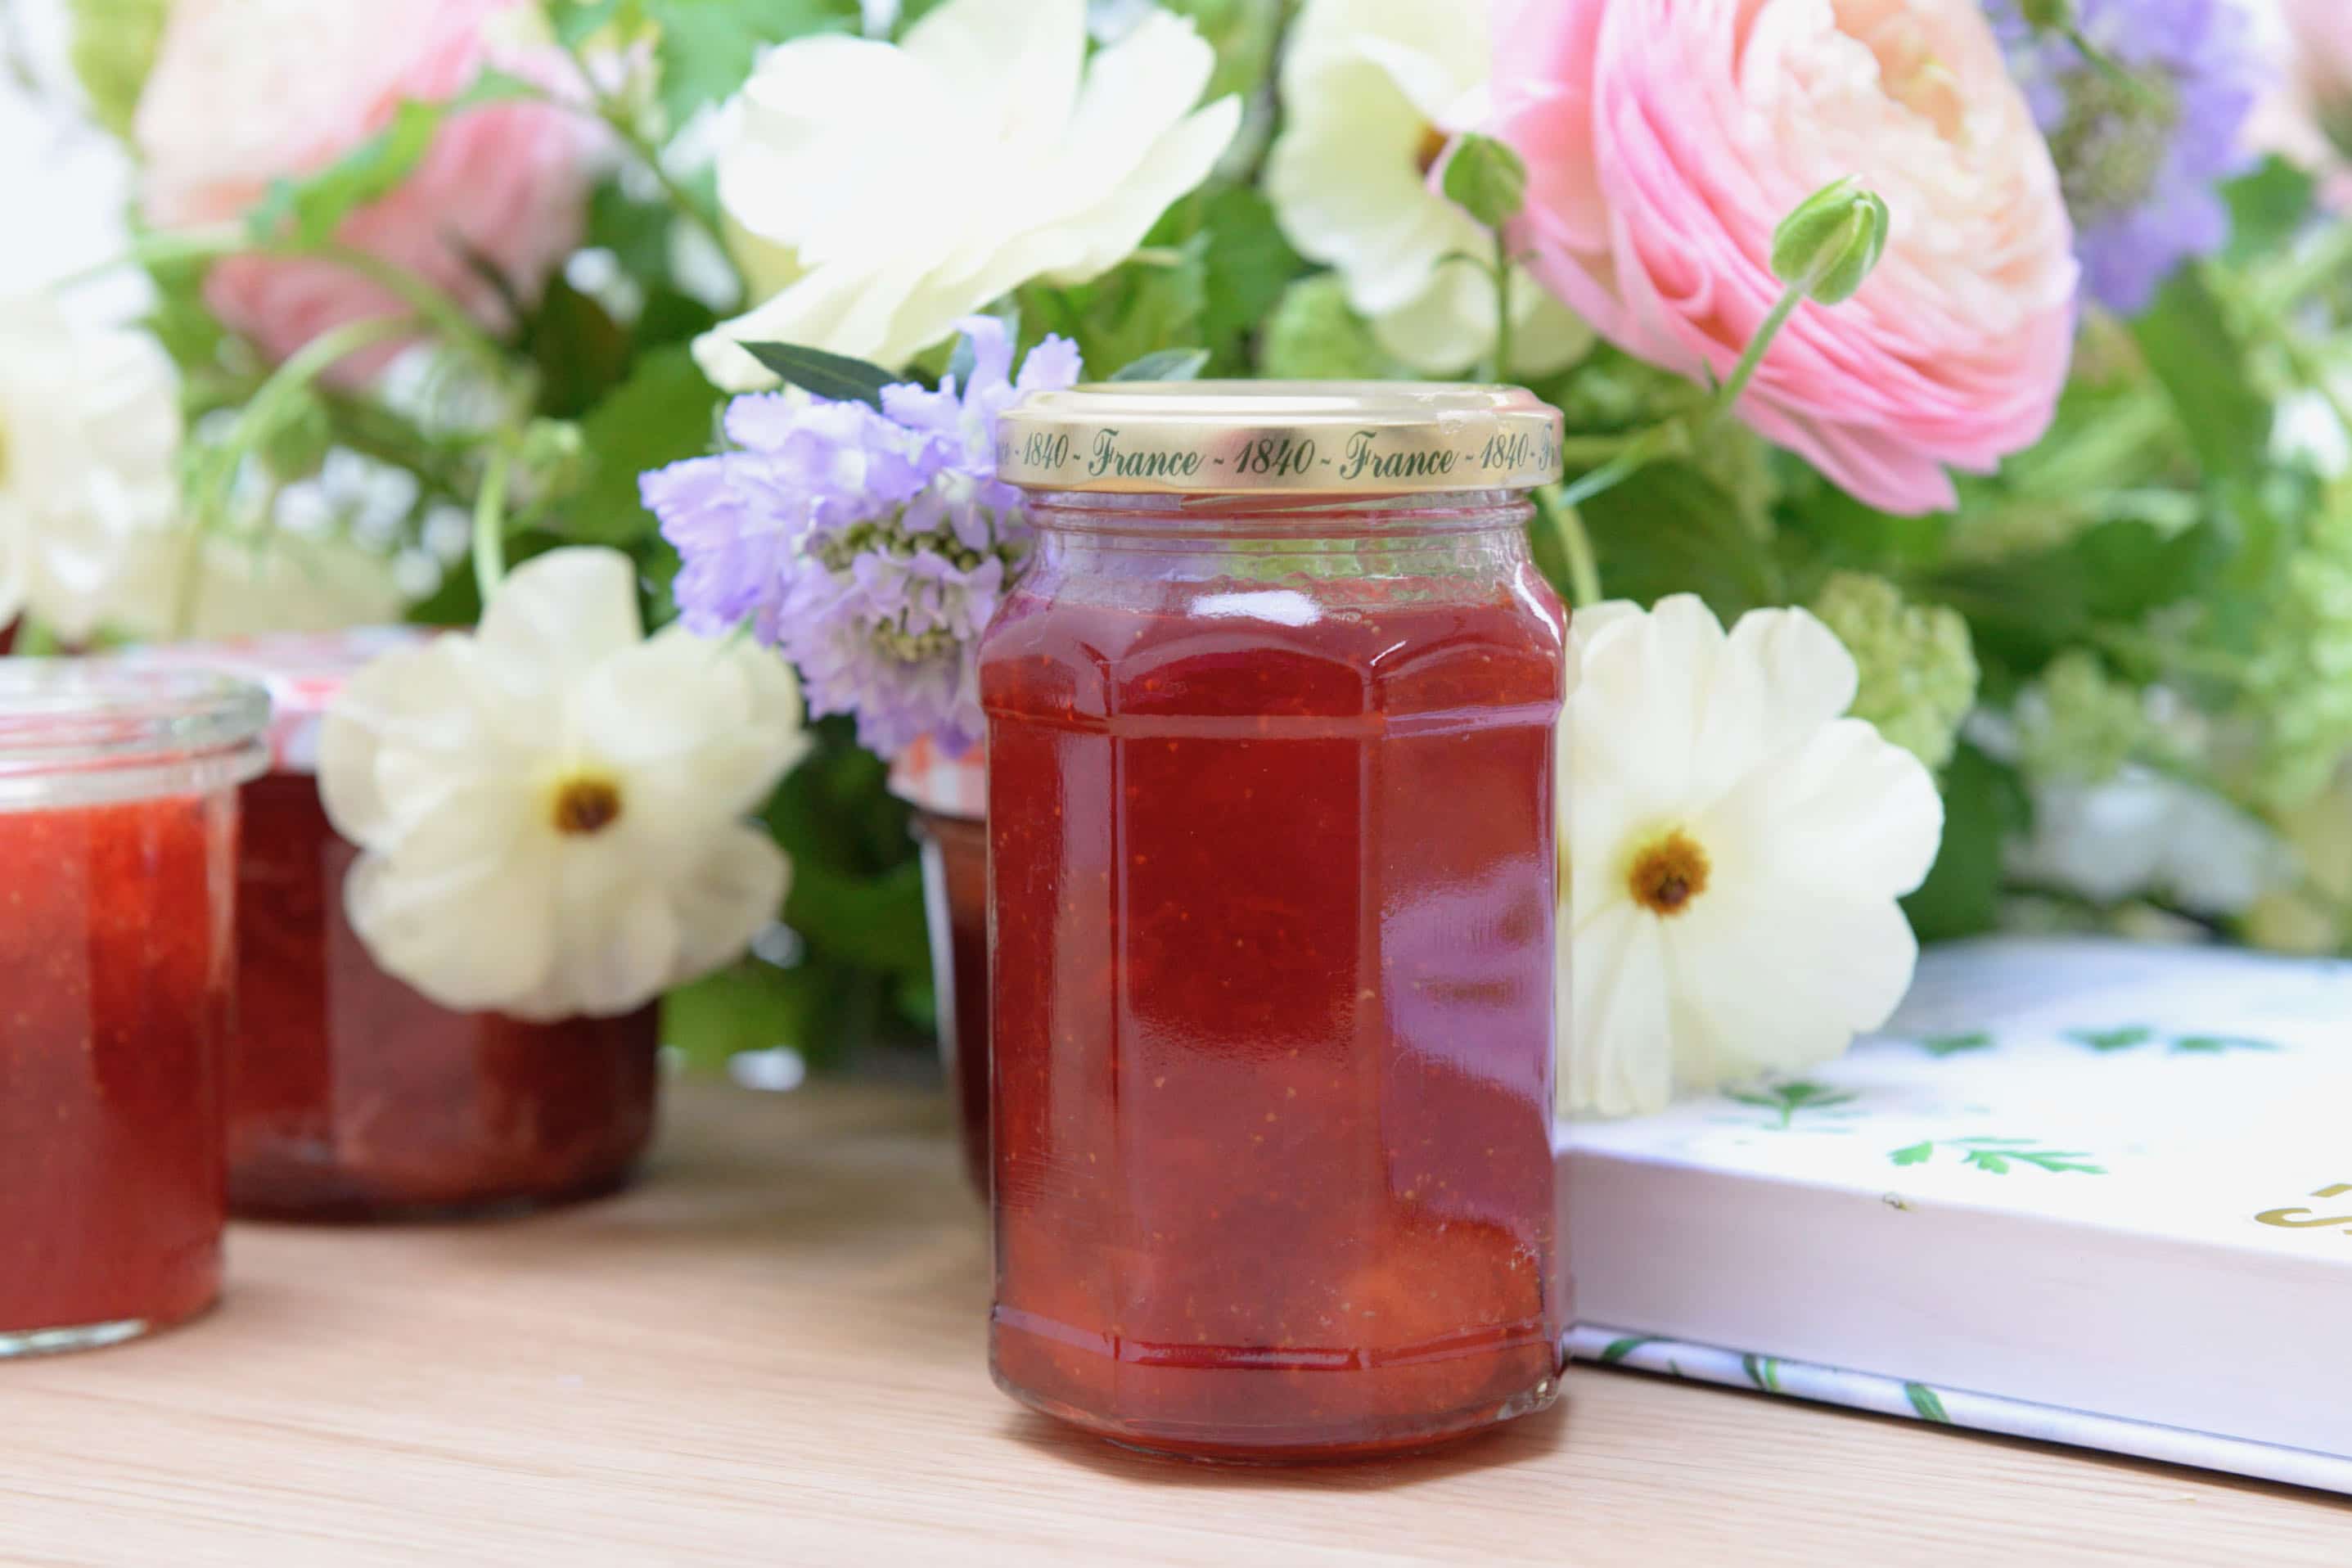
Strawberry jam
I have tried many recipes and was often quite disappointed with the result: whether the color was not a bright red, or the jam was too liquid… You have THE ideal strawberry jam recipe? If you wish to share it with us, do let me know! The sugar I use for this recipe – and exclusively for the strawberry jam recipe – is the key to success: everyone adores it. The downside is that it tastes very sweet, good for sugar-lovers, or else you need to be able to take small quantities. The strawberries I used for the jam on the picture are the Belgian small-size, tangy and firm type we find in Spring.
Ingredients
- 1.5 kg of ripe and fragrant strawberries
- 1.2 kg Confidélice sugar from the brand Daddy (for an optimized storage, use 750 g sugar for 1 kg fruits)
- 1 lemon
- A large jam pan (copper basin if you have one is the best)
- A large bowl
- A spatula
- A few sterilized jars
- A small plate to test the jam
- A scale
- Heat-protective gloves
- A tea-ball
Directions
- Step 1 Wash the strawberries, drain the water, and remove the stems. Put them in a large bowl (don’t hesitate to cut them in two in case you think they are too large) Add a little bit less than their weight in sugar. No more, as it would be much too sweet. Let the sugar melt entirely at room temperature. That will take several hours.
- Step 2 On the cooking day, bring the preparation to a boil and stir regularly. When you have reached that boiling point, cook for 15 minutes stirringly regularly. Personally, I like to collect half the strawberries, crush them with my electric mixer, and place them back in the jam pan with the rest of the preparation. This only takes a minute. Just be careful not to burn yourself, use your gloves.
- Step 3 You know the cooking part is done when your jam syrup is thick. Turn off the heat and let it cool down. Test the jam on a chilled plate. If the jam clots when you tilt the plate, it’s a good sign.
- Step 4 Squeeze the lemon to get the juice and collect the seeds to put them in a tea ball. Start heating up the preparation again, add the tea ball and the lemon juice to the preparation. Count 10 minutes after it reaches the boiling point and test the thickness of the jam again with a chilled plate. Remove the white foam on the surface and stir again. As soon as you have reached the perfect thickness to you, lower the heat to a minimum and start filling the jars. Once this is done, tightly close the lids, and turn the jars upside down until they are totally cold.